Difference between revisions of "Demon Alliance Invasion"
(→Useful Demons: added angel comp) |
m (→Useful Demons) |
||
| Line 69: | Line 69: | ||
* {{DemonIcon|Ananta|size=32px}} will cast [[Luster Candy]] automatically every player and enemy turn (effectively twice per turn), making him a good budget option for stacking buffs. | * {{DemonIcon|Ananta|size=32px}} will cast [[Luster Candy]] automatically every player and enemy turn (effectively twice per turn), making him a good budget option for stacking buffs. | ||
* {{DemonIcon|Elohim|size=32px}} follows up every [[Solar Flare]] with an automatic [[Offensive Cry]] to stack up the attack buffs, in addition to his massive damage. | * {{DemonIcon|Elohim|size=32px}} follows up every [[Solar Flare]] with an automatic [[Offensive Cry]] to stack up the attack buffs, in addition to his massive damage. | ||
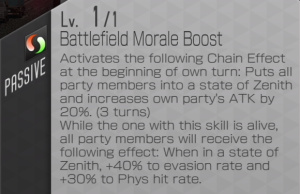
| − | * {{DemonIcon|Uriel|size=32px}} {{DemonIcon|Gabriel|size=32px}} & | + | * {{DemonIcon|Uriel|size=32px}} {{DemonIcon|Gabriel|size=32px}} & {{DemonIcon|Raphael|size=32px}} will cast each of the three buffs as part of their beginning of turn chain when 3 or more Divine/Herald demons are in the party. |
=="Revival of the Mantra's Leader" event== | =="Revival of the Mantra's Leader" event== | ||
Revision as of 15:51, 20 January 2023
Due to the ongoing nature of this event, information posted on this page will be expanded and updated as learn more. In addition, due to this being a beta version we can expect significant changes to the functioning of the event. Feel free to discuss strategies and information on discord or reddit.
Contents
Getting Boss Spawns
Bosses may spawn from most mission types.
- Brands of Sin, Strange Signal and Leveling quests are the most convenient, since they are commonly farmed for other stuff, letting you make the most of your stamina.
- Hell's Park can also spawn bosses, convenient if you've not completed it yet for the month.
Bosses will NOT spawn from the following:
- Story quests that play cutscenes before or after the fight.
- Alter-World quests.
Battle Basics
These boss fights will allow you to field two parties, similarly to Leveling Quests or Aura Gate exploration parties. Important to note that the party configurations are saved independently from Dx2 selected, so you may form a party, decide that a different Dx2 would be a better match, and change them without needing to re-select your demons once again.
- Both fights have a 3-turn limit
- If your first team can't defeat the boss in time, the battle will progress to its second phase, with your second team.
- If the second team also can't beat the boss within the turn limit, the battle will end inconclusively, and you will request an S.O.S. from a group of random players. This SOS will prioritize friends and fellow Faction members, and also let you send friend requests if the player in question isn't already a friend.
- If the boss's HP reaches 0, the battle will end immediately, regardless of which team is currently fighting.
Buff Stacking
One player's buffs will carry over to other players' fights, stacking to high numbers, allowing the participants to deal increasing amounts of damage to high level bosses. This is necessary to even be able to survive high level boss attacks.
Liberator effects (such as ![]() Chalk Eater) also count for this.
Chalk Eater) also count for this.
However, debuffs will NOT stack. Only buffs will stack!
BP and Attack Modes
With this new event comes a new form of Stamina, called BP. These are used exclusively on this kind of battle, and recovers independently from normal Stamina, Duel Stamina, or Aura Gate Steps. 1 BP recovers every 10 minutes.
BP has its own refill drinks as well, called ![]() Rader Pepper and
Rader Pepper and ![]() Time-Limited Rader Pepper.
Time-Limited Rader Pepper.
When selecting a fight, three options are available, each with a different cost and different boost to the team's ATK:
- Note: this only affects PAtk and MAtk. Due to this, skills that use other stats such as PDef (example: Earthquake) will NOT have their damage boosted.
| Option | Cost | ATK boost |
|---|---|---|
| Attack | 1 BP | 1x |
| Strong Attack | 2 BP | 3x |
| Full Power | 3 BP | 5x |
The ATK boost will also be applied to your Battle Certificate reward, if you kill the boss during that run.
Tips
- Once you start fighting higher level bosses, the damage you can deal during your first battle will be very low compared to their scaling Hp stat. It's best to do one or two battles using the standard 1 BP attack option to build your buff stock, then use the 3 BP option to attack for massive damage.
- You may be able to kill the first or second boss quickly enough to not worry about their damage, but in time you will have to bring healer/tank units to keep your team alive.
Useful Liberators
 Chalk Eater is the man to use if you find yourself fighting a boss with an exploitable weakness. He will repeatedly provide you with buffs of all 3 types, MP recovery, and occasionally extra press turns. If no weaknesses are present, he can still give your demons +7 MAG.
 Kangaroo Boxer boosts your physical attacks (+7 STR, +7 AGI), and casts
  Sukukaja and
  Sukunda to help with accuracy.
 Vince boosts physical attacks as well (+12 STR), while also boosting critical hits. If you have demons that can cast
  Rebellion automatically through passives, Vince also provides buff support through
  Sukukaja,
  Rakunda, and
  Sukunda
 Meat Balloon fits more defensive parties (+12 VIT), will cast
  Rakukaja when hit by magic or
  Tarunda when hit by a critical attack. Counter effects will have a higher chance to activate, and will deal more damage.
 Eileen will make
  Random Targets attacks have higher minimum hits, and will occasionally not use up any press turns when Passing. This is especially helpful as the fight drags on, as your demons might eventually not have enough MP to attack, making you Pass their turns. Getting that Pass for free could let you squeeze in a couple more skill uses.
 Templar Dragon will boost
  Charge and
  Concentrate effects, like those provided by
  Mahakala or Panel 2
  Cu Chulainn A. She also gives +5 STR and +5 MAG.
 Shionyan grants +12 MAG to the party, improving magic damage. Good choice if you can't meet the conditions of other Liberators.
Useful Demons
These demons should work well against almost any boss, whereas other demons might be punished by the current boss's gimmick (for example, heavily reduced damage from certain elements)
 Erlkonig will consistently heal your party and provide you with defensive buffs every turn, which will carry over to other fights.
 Barong can cast Luster Candy in addition to healing, increasing your offensive power. If he's panel 4, he can also generate Bulwarks.
 Demeter can keep your party's Bulwarks topped off consistently, trivializing damage taken, as well as casting Luster Candy whenever any other party member receives an attack.
 Orcus reduces damage taken from AoE attacks for the party. He will also cast
  Tarukaja when a party member's weakness is exploited. This can let you stack attack buffs quickly.
 Ananta will cast Luster Candy automatically every player and enemy turn (effectively twice per turn), making him a good budget option for stacking buffs.
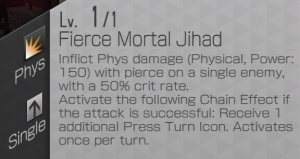
 Elohim follows up every Solar Flare with an automatic Offensive Cry to stack up the attack buffs, in addition to his massive damage.
 Uriel
Uriel  Gabriel &
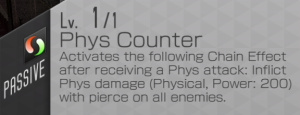
  Raphael will cast each of the three buffs as part of their beginning of turn chain when 3 or more Divine/Herald demons are in the party.
"Revival of the Mantra's Leader" event
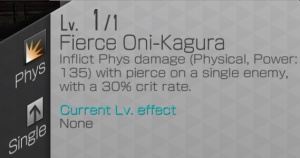
Oni
First and easiest battle you will encounter.
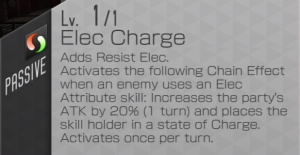
This enemy, just like regular Oni is weak to Elec attacks.
Battle 1
| Oni | - | - | - | Wk | - | - | - |
Battle 2
| Oni | - | - | - | Wk | - | - | - |
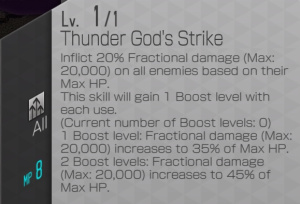
The second fight is exactly the same, except for the addition of the skill below.

Notes
- Phys Anti-Pierce is possible, but since Oni has single target attacks and, on the second fight, a fractional move, he will likely not attack into repel/drain reliably.
- Very easy, very simple fight. No gimmicks, no insane hp, just hit him a few times and he should be dead.
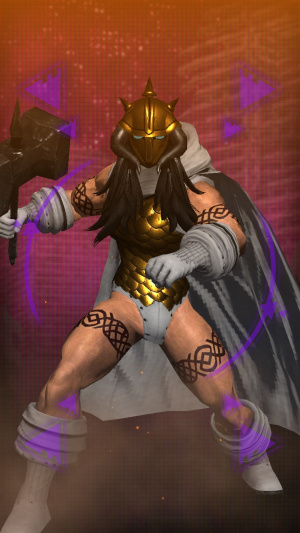
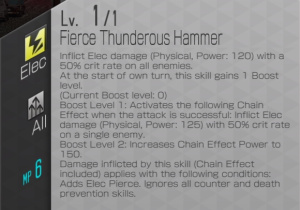
Thor
The second boss. Considerably more dangerous, this is where you need to start understanding the event mechanics.
Battle 1
| Thor | Rs | Nu | - | Dr | Wk | Rs | - |
Battle 2
| Thor | Rs | Nu | - | Dr | Wk | Rs | - |
Notes:
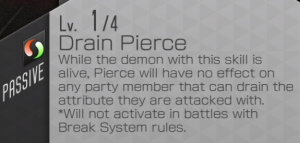
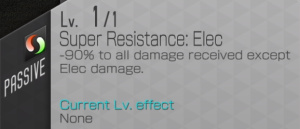
- Phase 1 has both Drain Elec and Drain Pierce. This means he's completely immune to
 Elec attacks (unless you use
  Zeus to change his resistances). In addition, he takes -50% damage from all non-Elec skills and attacks.
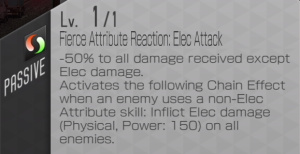
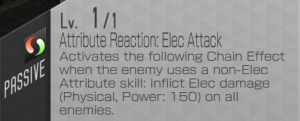
 - Thor will counter any non-Elec skills you throw at him. The damage from these counters is not big, but it will add up, especially if you're abusing his
 Force weakness. You can use these counters to trigger skills on your own demons, for example
  Demeter or
  Orcus.
 - However, he's still weak to
 Force attacks, and thus will take more damage from them, which should offset the damage reduction.
 - Phase 2 will no longer Drain Pierce, but will take -90% damage from non-Elec attacks. This makes anything other than
 Elec simply not worth using.
Recommended Demons:
- For Team 1
 Susano-o: Kusanagi is a very strong Force attack that also casts
  Tarukaja, to increase your attack % on subsequent fights. Use on team 1.
 Mahamayuri: solid Force attacker which will also heal your party when used. Use on team 1, but be careful of their Elec weakness.
 Sabaoth: careful turn order management might be necessary, but Sanction provides a bonus press turn every turn on top of hitting Thor's weak spot. Use on team 1.
- For either Team
 Barong: Panel 3 will make your whole party take -20% Elec damage, and another -70% for himself. In addition, Barong Dance is not only a good healing move, it will also cast and recast Luster Candy which will stack your buff % for future fights. Can be used on either team.
 Zeus: will of course lower Thor's Elec resistance and keep it down through multiple uses of Keraunos. This lets you bypass the Elec immunity on phase 1 and do big damage to him, ignoring the damage reduction to other elements. He also has high value for phase 2, where you're essentially forced to use Elec.
 Orcus: when your team uses a non-Elec attack, Thor will counter with an Elec AoE. This will hit Orcus, who's weak to Elec himself, triggering his passives, most notably his Panel 2 which casts a free
  Tarukaja when a weakness is exploited. He will also prevent bonus turns when Thor uses his regular AoE attack.
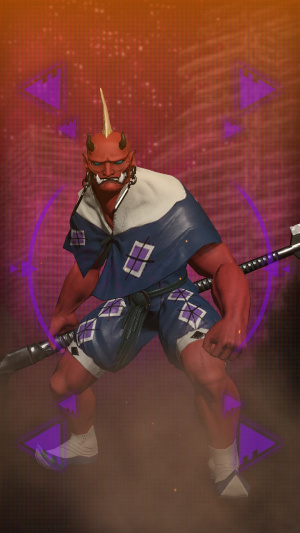
Gozu-Tennoh
The Main Man. Featured demon, rarest and toughest boss.
Battle 1
| Gozu-Tennoh | Dr | Nu | Nu | Nu | Nu | Rs | Rs |
Battle 2
| Gozu-Tennoh | Dr | Nu | Nu | Nu | Nu | Rs | Rs |
Notes:
- Do NOT try to revive spam with this guy.
- Do NOT try to use Intimidating Stance effects on this guy on phase 1.
- No weaknesses on either phase, so you will need pure, raw damage. Unless you have
 Zeus and you can abuse that
  Elec weakness.
 - Phase 1 will reduce magic damage by 90%, in addition to punishing you with a 200 BP attack every time you attack him with magic. Do not bring magic units.
- Phase 2 does not take reduced damage from physical attacks, but it does counter them with an AoE Phys. Note that while the skills say Phys, they in fact mean Physical, so any skill that can crit or miss will trigger a counter move.
- Due to having no weaknesses and heavily punishing physical moves (and thus crits), bonus turns are hard to come by. Skills like Solar Flare or Sword of Izumo can help provide extra turns through their Remnants attribute. Turn generators like
 Vishnu A can also help.
 - Gozu-Tennoh will crit. A lot. The damage he does will add up quickly, so you want a healer on phase 2.
Recommended Demons:
 Futsunushi will counter every attack Gozu-Tennoh does, making the damage add up and increasing your Combo.
 Chi You will also deal big damage when the boss's turn ends, entering
  Charge for more damage on the next hit.
 Asura Lord will boost your allies' crit damage.
 Odin A grants all your allies +40% Phys/Elec damage when under
  Zenith.
 Elohim is a peak choice for phase 2 thanks to Remnants and Offensive Cry when casting Solar Flare, as well as the large damage numbers.
- Panel 3
 Mahakala can keep offensive buffs up, and gets auto
  Concentrate every other turn for increased damage.
  Vishnu A and
  Sabaoth can generate extra press turns, to help alleviate the lack of bonus turns from crits. Vishnu also provides attack buffs.
| Quest Areas | |
|---|---|
| Permanent Content | Story • Dx2 Quests • Alter-World • Aura Gate (1, 2, SP) |
| Farming Quests | Strange Signal • Brands of Sin • Wanted |
| Recurring Events | Eclipse • Hell's Park • Advent • Kiwami • Tokyo Abyss • Take Back Tokyo • Demon Alliance Invasion |
| Competitive | Democalypse • D2 Duel • Battle Tower |

