Demon Alliance Invasion
Due to the ongoing nature of this event, information posted on this page will be expanded and updated as learn more. In addition, due to this being a beta version we can expect significant changes to the functioning of the event. Feel free to discuss strategies and information on discord or reddit.
Contents
Getting Boss Spawns
Bosses may spawn from most mission types.
- Brands of Sin, Strange Signal and Leveling quests are the most convenient, since they are commonly farmed for other stuff, letting you make the most of your stamina.
- Hell's Park can also spawn bosses, convenient if you've not completed it yet for the month.
Bosses will NOT spawn from the following:
- Story quests that play cutscenes after the fight. Seemingly, ones that play the cutscene before the fight will spawn the bosses normally.
- Alter-World quests.
Battle Basics
These boss fights will allow you to field two parties, similarly to Leveling Quests or Aura Gate exploration parties. Important to note that the party configurations are saved independently from Dx2 selected, so you may form a party, decide that a different Dx2 would be a better match, and change them without needing to re-select your demons once again.
- Both fights have a 3-turn limit
- If your first team can't defeat the boss in time, the battle will progress to its second phase, with your second team.
- If your first team dies to the boss, the battle will simply move to the next phase.
- If the second team also can't beat the boss within the turn limit, the battle will end inconclusively, and you will request an S.O.S. from a group of random players. This SOS will prioritize friends and fellow Faction members, and also let you send friend requests if the player in question isn't already a friend.
- If the boss's HP reaches 0, the battle will end immediately, regardless of which team is currently fighting.
Buff Stacking
One player's buffs will carry over to other players' fights, stacking to high numbers, allowing the participants to deal increasing amounts of damage to high level bosses. This is necessary to even be able to survive high level boss attacks.
There doesnt seem to be a cap to attack and defense buffs, however the ![]() Sukukaja buffs cap out at +100%, likely to avoid instances where the boss is completely unable to hit any player demon and maintain a certain level of difficulty.
Sukukaja buffs cap out at +100%, likely to avoid instances where the boss is completely unable to hit any player demon and maintain a certain level of difficulty.
Liberator effects (such as ![]() Chalk Eater) also count for this.
Chalk Eater) also count for this.
However, debuffs will NOT stack. Only buffs will stack!
BP and Attack Modes
With this new event comes a new form of Stamina, called BP. These are used exclusively on this kind of battle, and recovers independently from normal Stamina, Duel Stamina, or Aura Gate Steps. 1 BP recovers every 10 minutes.
BP has its own refill drinks as well, called ![]() Rader Pepper and
Rader Pepper and ![]() Time-Limited Rader Pepper.
Time-Limited Rader Pepper.
When selecting a fight, three options are available, each with a different cost and different boost to the team's ATK:
- Note: this only affects PAtk and MAtk. Due to this, skills that use other stats such as PDef (example: Earthquake) will NOT have their damage boosted.
| Option | Cost | ATK boost |
|---|---|---|
| Attack | 1 BP | 1x |
| Strong Attack | 2 BP | 3x |
| Full Power | 3 BP | 5x |
Tips
- Once you start fighting higher level bosses, the damage you can deal during your first battle will be very low compared to their scaling HP stat. It's best to do one or two battles using the standard 1 BP attack option to build your buff stock, then use the 3 BP option to attack for massive damage.
- You may be able to kill the first or second boss quickly enough to not worry about their damage, but in time you will have to bring healer/tank units to keep your team alive.
- Do not neglect
 Sukukaja buffs. They may not increase your damage but a lucky dodge may well save your team from death to let them fight another turn.
Useful Liberators
Utility
 Chalk Eater is the man to use if you find yourself fighting a boss with an exploitable weakness. He will repeatedly provide you with buffs of all 3 types, MP recovery, and occasionally extra press turns. If no weaknesses are present, he can still give your demons +7 MAG.
 Eileen will make
  Random Targets attacks have higher minimum hits, and will occasionally not use up any press turns when Passing. This is especially helpful as the fight drags on, as your demons might eventually not have enough MP to attack, making you Pass their turns. Getting that Pass for free could let you squeeze in a couple more skill uses.
Offensive
 Kangaroo Boxer boosts your physical attacks (+7 STR, +7 AGI), and casts
  Sukukaja and
  Sukunda to help with accuracy.
 Vince boosts physical attacks as well (+12 STR), while also boosting critical hits. If you have demons that can cast
  Rebellion automatically through passives, Vince also provides buff support through
  Sukukaja,
  Rakunda, and
  Sukunda.
 Templar Dragon will boost
  Charge and
  Concentrate effects, like those provided by
  Mahakala or Panel 2
  Cu Chulainn A. She also gives +5 STR/MAG, and improves healing.
 Shionyan grants +12 MAG to the party, improving magic damage. Good choice if you can't meet the conditions of other Liberators.
Defensive
 Meat Balloon fits more defensive parties (+12 VIT), and will cast
  Rakukaja when hit by magic or
  Tarunda when hit by a critical attack. Counter effects will have a higher chance to activate, and will deal more damage.
 Megakin supports NDR tanking by having a chance to cast
  Rakukaja when Nulling,
  Tarukaja when Repelling, or
  Sukukaja when Draining a boss's attack. Repels will deal more damage, while Drains will heal more. He also provides +5 VIT/AGI/LUK to slightly improve bulk and accuracy/evasion.
Useful Demons
These demons should work well against almost any boss, whereas other demons might be punished by the current boss's gimmick (for example, heavily reduced damage from certain elements)
 Erlkonig will consistently heal your party every turn, and cast
  Tarunda at the start of the enemy's turn (plus
  Rakukaja if panel 3) to lessen the boss's onslaught.
 Barong can cast Luster Candy in addition to healing, increasing your offensive power. If he's panel 4, he can also generate Bulwarks.
 Demeter can keep your party's Bulwarks topped off consistently, trivializing damage taken, as well as casting Luster Candy whenever any other party member receives an attack. My Harvest! additionally grants MP to party members, helping them to keep casting skills.
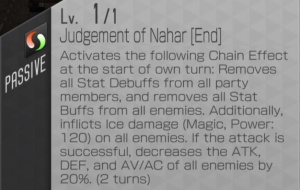
 Demiurge, if paired with "Drain <element> " party members corresponding to the boss, can both automatically heal and generate MP for the party - on top of making the boss lose turns, of course.
 Orcus reduces damage taken from AoE attacks for the party. If panel 2, he will also cast
  Tarukaja when a party member's weakness is exploited. This can let you stack attack buffs quickly.
 Ananta will cast Luster Candy automatically every player and enemy turn (effectively twice per turn), making him a good budget option for stacking buffs.
 Elohim follows up every Solar Flare with an automatic Offensive Cry to stack up the attack buffs, in addition to his massive damage.
 Uriel,
  Gabriel, &
  Raphael will cast each of the three buffs as part of their beginning of turn chain when 3 or more Divine/Herald demons are in the party.
 Ame no Uzume will cast
  Tarukaja after any skill heals the party - this includes not just heal skills, but also life-steal effects such as Ouas, and chain effects such as Blossoming Cyclone or Supreme Creator (but it does NOT count
  Lydia or Dx2 skills). If panel 2, she also casts
  Rakukaja.
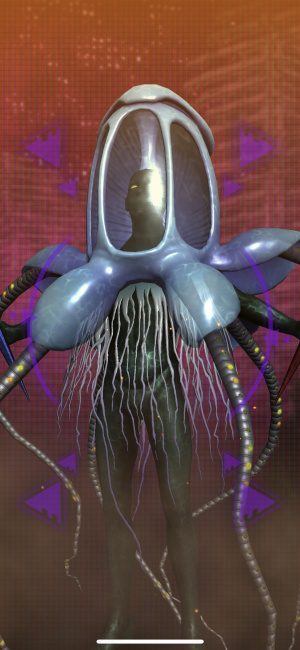
"Chaos Dragon of the Abyss" event
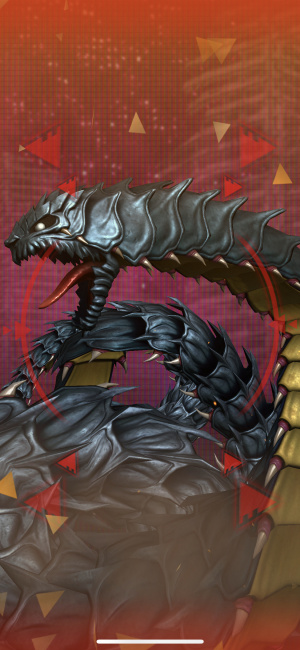
Tiamat
First and easiest battle you will encounter.
Battle 1
| Tiamat | - | Nu | Nu | Wk | - | - | Rs |
Battle 2
| Tiamat | - | Nu | Nu | Wk | - | - | Rs |
Exactly the same as the first battle, even has the same skills.
Notes
- Boss has no pierce.
- Just hit her with Elec (or at least make sure you don't hit her nulls) and she should go down quickly.
Ym
Rahab
Archive
- For older events, see Demon Alliance Invasion/History
| Quest Areas | |
|---|---|
| Permanent Content | Story • Dx2 Quests • Alter-World • Aura Gate (1, 2, SP) |
| Farming Quests | Strange Signal • Brands of Sin • Wanted |
| Recurring Events | Eclipse • Hell's Park • Advent • Kiwami • Tokyo Abyss • Take Back Tokyo • Demon Alliance Invasion |
| Competitive | Democalypse • D2 Duel • Battle Tower |

