Difference between revisions of "Hollow World/Floors 41-50"
m (→Farming Teams) |
(Added my AG2 team) |
||
| Line 280: | Line 280: | ||
====Expensive==== | ====Expensive==== | ||
| + | {| border=0 align="left" | ||
| + | | valign="top" |{{DemonBuild:Thin|demon=Garuda|archetype=Red|skill1=Mahamaon|skill2=Mazionga|brands=Speed, Speed|statreq=19% speed, 1500MATK}} | ||
| + | | valign="top" |{{DemonBuild:Thin|demon=Gabriel|archetype=Red|skill1=Light Boost|brands=Spell|statreq=1900MATK}} | ||
| + | | valign="top" |{{DemonBuild:Thin|demon=Izanami|archetype=Purple|skill1=Maziodyne|skill2=Elec Boost|brands=Spell, Lead|statreq=Panel 2, 2100MATK}} | ||
| + | | valign="top" |{{DemonBuild:Thin|demon=Baal|archetype=Clear|skill1=Force Enhancement|skill2=Butcher|brands=Divine, Speed|statreq=1900MATK}} | ||
| + | |} | ||
| + | <div style="clear: both;"></div> | ||
| + | *Garuda/Baal/Izanami is a very effective core to build an AG2 farming team around. The fourth demon doesn't need to be Gabriel; Black Frost and Mastema (with light pierce [weak]) can work just as well. | ||
| + | *If you use Black Frost, consider giving Deadly Curse to your other AoE sweepers for extra damage. | ||
| + | *With the listed MATK values and skills (as well as 80+ Berserk), this team clears the [[Forneus]] encounter in one turn. [https://gfycat.com/enragedhomelybactrian See here for a video example.] It's important that the demons in slots 1 and 3 can hit Camazotz's weaknesses in order to generate enough press turns. | ||
| + | *It can be difficult to hit the required battle speed without Speedster or Panel 3 on Garuda, but it is possible (maxing out Agility mitamas on everyone helps). | ||
Revision as of 19:33, 6 May 2020
WIP
Contents
General
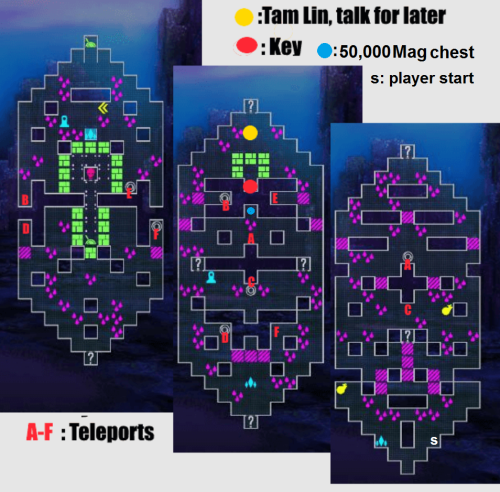
- M is Miniboss, K is Key.
Floor 41
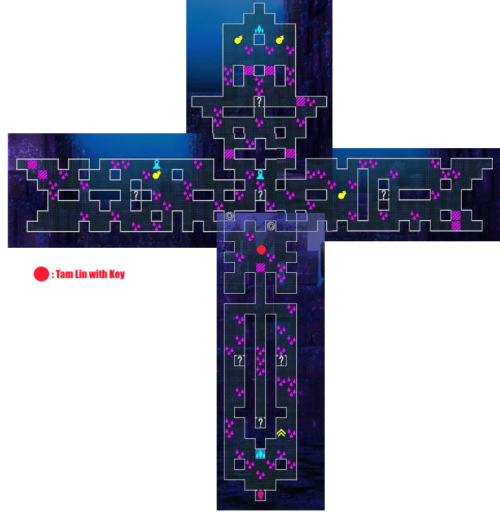
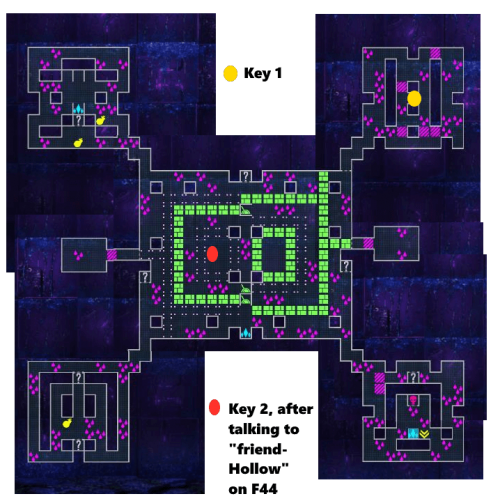
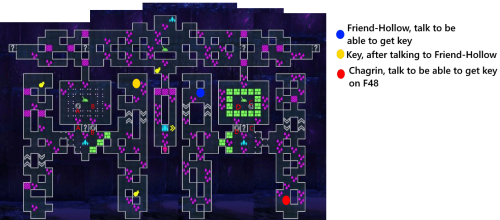
- Talk to Tam Lin to receive the key.
- Fight Berserker miniboss to advance further to the boss.
Boss
| Baphomet | Sandalphon | Koumokuten
|
|---|---|---|

|

|

|
| Resistances | |||||||
|---|---|---|---|---|---|---|---|
| Baphomet | - | Nu | - | - | - | Wk | Nu |
| Sandalphon | Rs | - | - | Rs | Nu | Rp | Nu |
| Koumokuten | - | - | Nu | Nu | Wk | Rs | - |
| Battle Speed | 21666 | ||||||
Floor 42
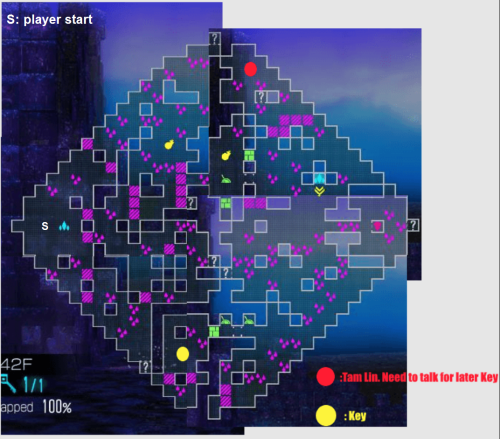
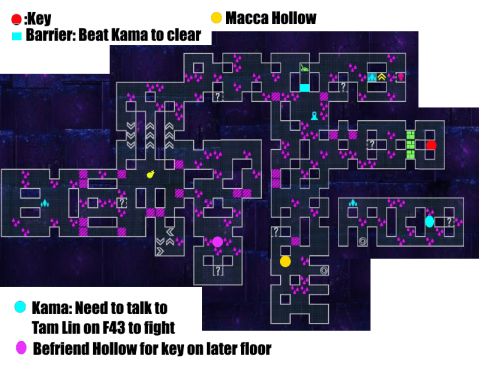
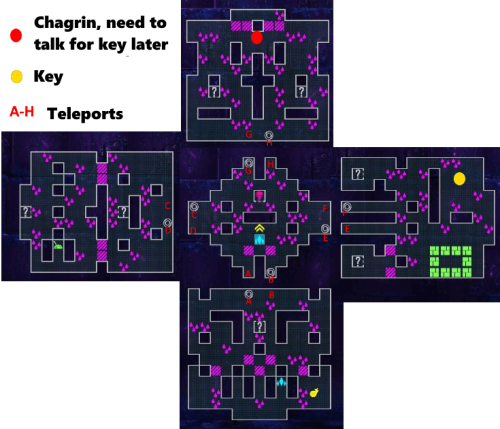
- Fight Tlaltecuhtli miniboss to get access to the switch. Go further and talk to the ghost to pick up the key.
- Be sure to talk to Tam Lin again
Boss
Floor 43
- Fight Sphinx to access the switch up top
- Switch to purple, warp back, and get the key
- Take a different warp to get to the second switch and switch to green. go up to access the boss door.
- Don't forget to talk to Tam Lin yet again.
Boss
| Titan | Pazuzu | Titan
|
|---|---|---|

|

|

|
| Resistances | |||||||
|---|---|---|---|---|---|---|---|
| Titan | Rs | - | Nu | - | - | - | - |
| Pazuzu | - | - | Wk | - | Nu | - | Nu |
| Titan | Rs | - | Nu | - | - | - | - |
| Battle Speed | 18166 | ||||||
Floor 44
Boss
| Matador | Nidhoggr | Dionysus
|
|---|---|---|

|

|

|
| Resistances | |||||||
|---|---|---|---|---|---|---|---|
| Matador | Rs | - | Wk | - | - | Rs | Rs |
| Nidhoggr | Nu | - | Nu | Wk | - | Wk | - |
| Dionysus | - | Nu | Wk | Nu | - | - | - |
| Battle Speed | 35766 | ||||||
Floor 45
Boss
| Beiji-Weng | Cu Chulainn | Prometheus
|
|---|---|---|

|

|

|
| Resistances | |||||||
|---|---|---|---|---|---|---|---|
| Beiji-Weng | - | Wk | Nu | - | - | Rs | Nu |
| Cu Chulainn | Rs | - | - | - | Nu | Nu | - |
| Prometheus | - | Nu | Wk | Nu | - | Rs | - |
| Battle Speed | 20966 | ||||||
Floor 46
Boss
| Anubis | Michael | Dantalian
|
|---|---|---|

|

|

|
| Resistances | |||||||
|---|---|---|---|---|---|---|---|
| Anubis | - | - | - | - | - | Nu | Nu |
| Michael | - | - | Nu | Nu | - | Rp | Wk |
| Dantalian | - | Rs | Rs | Wk | Nu | Wk | Rs |
| Battle Speed | 22066 | ||||||
Floor 47
Boss
| Gremlin | Ananta | Gremlin
|
|---|---|---|

|

|

|
| Resistances | |||||||
|---|---|---|---|---|---|---|---|
| Gremlin | - | Wk | Rs | Rs | Nu | - | - |
| Ananta | - | Nu | Nu | Nu | Wk | Nu | - |
| Gremlin | - | Wk | Rs | Rs | Nu | - | - |
| Battle Speed | 27600 | ||||||
Floor 48
Boss
| King Frost | Baal | Abaddon
|
|---|---|---|

|

|

|
| Resistances | |||||||
|---|---|---|---|---|---|---|---|
| King Frost | - | Wk | Nu | - | - | Nu | - |
| Baal | - | - | Wk | Nu | Dr | Rs | - |
| Abaddon | - | Rp | - | Wk | - | - | - |
| Battle Speed | 21533 | ||||||
Floor 49
Boss
Floor 50
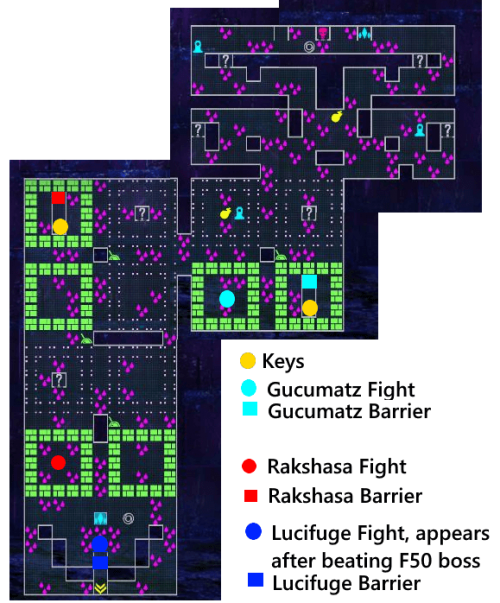
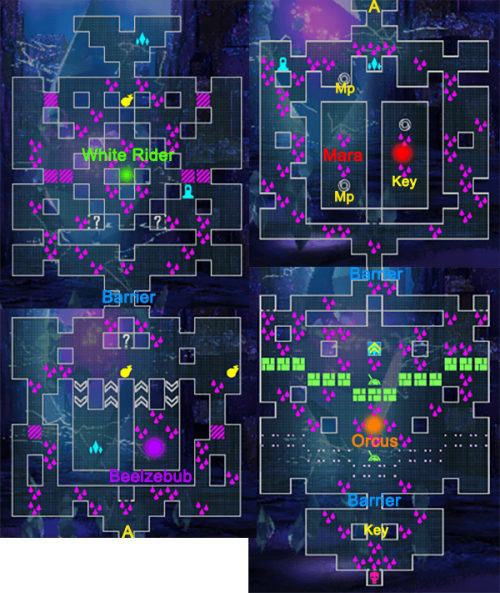
- Straight forward last floor; defeat the bosses from F10, F20, F30, and F40 to advance.
- defeat White Rider > go through Barrier > defeat Beelzebub > go through barrier > defeat Mara > collect 1st key and go through barrier > defeat Orcus > collect 2nd key and go through barrier > final boss time
Final Boss
| Rama | Seraph | Alilat
|
|---|---|---|

|

|

|
| Resistances | |||||||
|---|---|---|---|---|---|---|---|
| Rama | Dr | Dr | Dr | - | - | - | - |
| Seraph | Rs | Rs | Rs | Rs | Rs | Rs | Rs |
| Alilat | Rs | - | - | Rp | Rp | Rp | Rp |
| Battle Speed | 25433 | ||||||
Final Boss Reloaded
Encounters
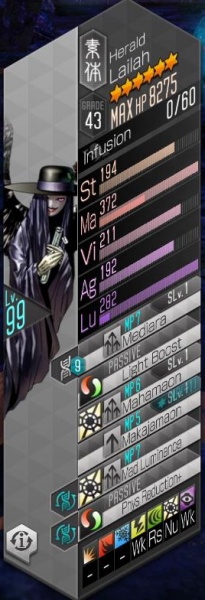
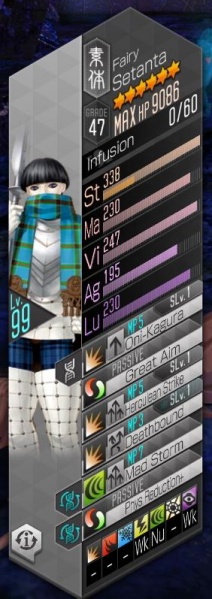
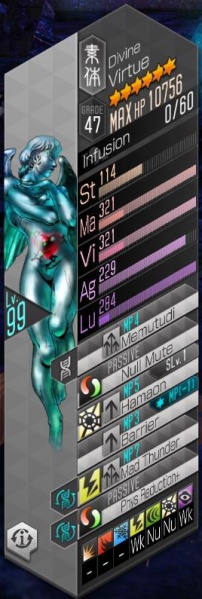
| Lailah | Setanta | Virtue
|
|---|---|---|
|
|
|
| Resistances | |||||||
|---|---|---|---|---|---|---|---|
| Lailah | - | - | - | Wk | Rs | Nu | Wk |
| Setanta | - | - | - | Wk | Nu | - | Wk |
| Virtue | - | - | - | Wk | Nu | Nu | Wk |
| Battle Speed | 20533 | ||||||
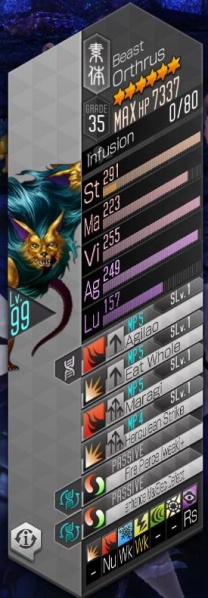
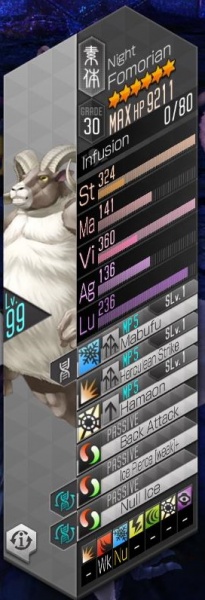
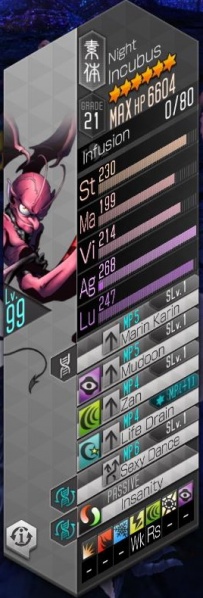
| Orthrus | Fomorian | Incubus | Fomorian |
|---|---|---|---|
|
|
|

|
| Resistances | |||||||
|---|---|---|---|---|---|---|---|
| Orthrus | - | Nu | Wk | Wk | - | - | Rs |
| Fomorian | - | Wk | Nu | - | - | - | - |
| Incubus | - | - | - | Wk | Rs | - | - |
| Fomorian | - | Wk | Nu | - | - | - | - |
| Battle Speed | 19725 | ||||||
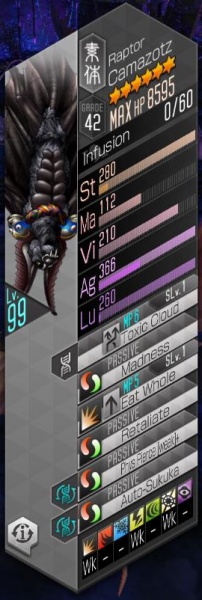
| Forneus | Camazotz | Forneus
|
|---|---|---|

|
|

|
| Resistances | |||||||
|---|---|---|---|---|---|---|---|
| Forneus | - | - | Dr | Rs | - | - | Nu |
| Camazotz | Wk | - | - | Wk | - | Wk | - |
| Forneus | - | - | Dr | Rs | - | - | Nu |
| Battle Speed | 21800 | ||||||
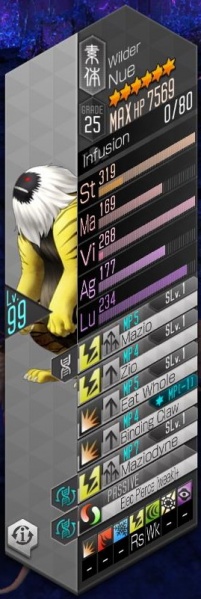
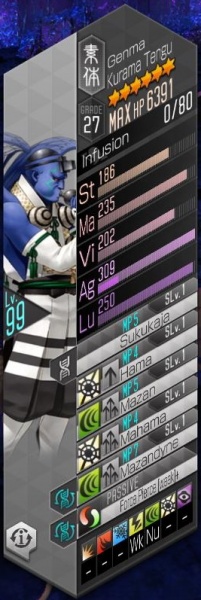
| Incubus | Nue | Kurama Tengu | Incubus |
|---|---|---|---|

|
|
|

|
| Resistances | |||||||
|---|---|---|---|---|---|---|---|
| Incubus | - | - | - | Wk | Rs | - | - |
| Nue | - | - | - | Rs | Wk | - | - |
| Kurama Tengu | - | - | - | Wk | Nu | - | - |
| Incubus | - | - | - | Wk | Rs | - | - |
| Battle Speed | 25550 | ||||||
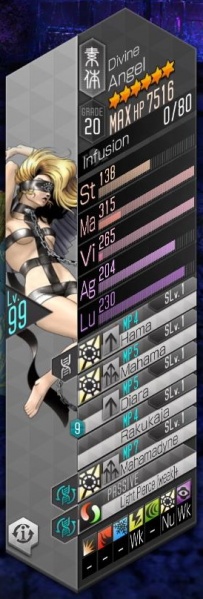
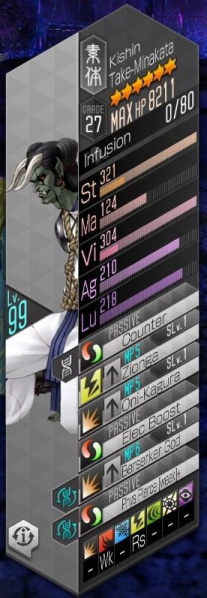
| Angel | Take-Minakata | Shadow | Angel |
|---|---|---|---|
|
|

|

|
| Resistances | |||||||
|---|---|---|---|---|---|---|---|
| Angel | - | - | - | Wk | - | Nu | Wk |
| Take-Minakata | - | Wk | - | Rs | - | - | - |
| Shadow | Rs | - | - | - | Wk | Wk | Nu |
| Angel | - | - | - | Wk | - | Nu | Wk |
| Battle Speed | 22150 | ||||||
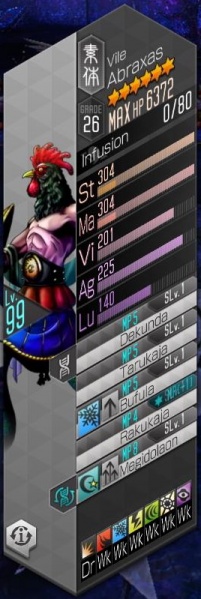
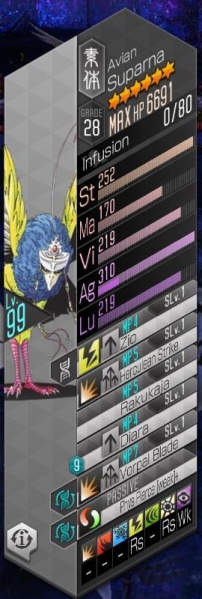
| Abraxas | Suparna | Abraxas
|
|---|---|---|
|
|

|
| Resistances | |||||||
|---|---|---|---|---|---|---|---|
| Abraxas | Dr | Wk | Wk | Wk | Wk | Wk | Wk |
| Suparna | - | - | - | Rs | - | Rs | Wk |
| Abraxas | Dr | Wk | Wk | Wk | Wk | Wk | Wk |
| Battle Speed | 25333 | ||||||
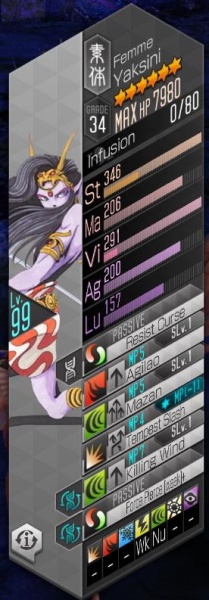
| Shadow | Yaksini | Yaksini | Shadow |
|---|---|---|---|

|
|

|

|
| Resistances | |||||||
|---|---|---|---|---|---|---|---|
| Shadow | Rs | - | - | - | Wk | Wk | Nu |
| Yaksini | - | - | - | Wk | Nu | - | - |
| Yaksini | - | - | - | Wk | Nu | - | - |
| Shadow | Rs | - | - | - | Wk | Wk | Nu |
| Battle Speed | 23400 | ||||||
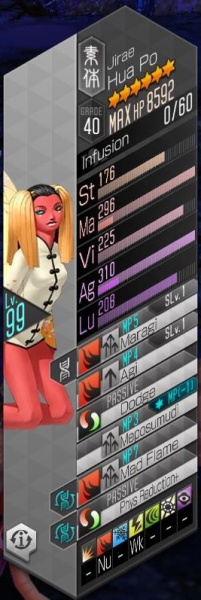
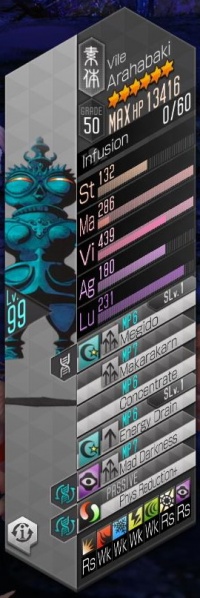
| Unicorn | Hua Po | Arahabaki
|
|---|---|---|

|
|
|
| Resistances | |||||||
|---|---|---|---|---|---|---|---|
| Unicorn | - | - | - | Wk | - | Nu | Nu |
| Hua Po | - | Nu | - | Wk | - | - | - |
| Arahabaki | Rs | Wk | Wk | Wk | Wk | Rs | Rs |
| Battle Speed | 22133 | ||||||
| Angel | Raijuu | Oni | Shiisaa |
|---|---|---|---|

|

|

|

|
| Resistances | |||||||
|---|---|---|---|---|---|---|---|
| Angel | - | - | - | Wk | - | Nu | Wk |
| Raijuu | - | - | - | Rs | Wk | - | - |
| Oni | - | - | - | Wk | - | - | - |
| Shiisaa | - | Rs | - | - | Rs | Rs | - |
| Battle Speed | 23350 | ||||||
Farming Teams
Budget
|
|
|
|
- Many elemental AOEs must be covered, not just Elec for this particular team to work.
- Forneus are not beaten by this team. The team actually does not (must not) do too much damage to Forneus.
- They will suicide themself with Final Measure (Inflict fractional 25% HP ). If their HP were to be too close to 0 they would kill you instead.
- Barong is destined to heal the team.
- The Team was tested in a 80+ Berserk lvl on all elements-condition.
Expensive
|
|
|
|
- Garuda/Baal/Izanami is a very effective core to build an AG2 farming team around. The fourth demon doesn't need to be Gabriel; Black Frost and Mastema (with light pierce [weak]) can work just as well.
- If you use Black Frost, consider giving Deadly Curse to your other AoE sweepers for extra damage.
- With the listed MATK values and skills (as well as 80+ Berserk), this team clears the Forneus encounter in one turn. See here for a video example. It's important that the demons in slots 1 and 3 can hit Camazotz's weaknesses in order to generate enough press turns.
- It can be difficult to hit the required battle speed without Speedster or Panel 3 on Garuda, but it is possible (maxing out Agility mitamas on everyone helps).
